|
|
|
 |
Dads 6 Unit (teeth) bridge |  |
|
|
|
|
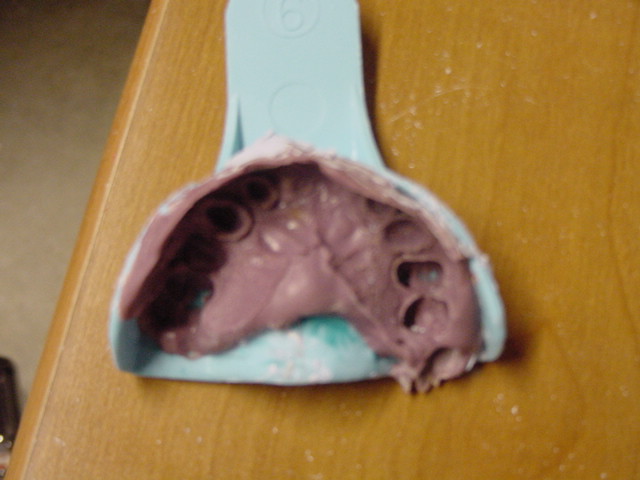
Impression received from Dr Young This is the gooey stuff they put in your mouth. |
 |
| Stone mix poured into impression let it set for about 1/2 an hour and seperate, then I have a working model |
 |
|
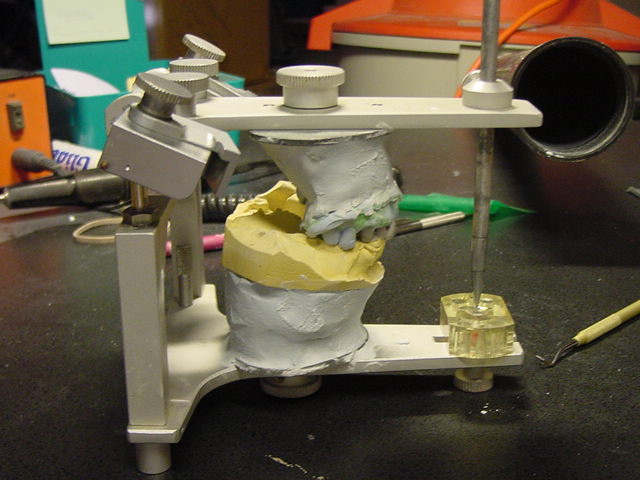
Mounted on an Articulator This device simiulates your opening and closing and moving your jaw in different directions |
 |
|
waxup of teeth Wax is applied to the 'Posts" that the Doctor created. I waxed up the teeth to ideal but had to alter this in porcelain so that you won't be breaking off porcelain when chewing |
 |
|
finished bridge This is what it looks like finished. I hope you like it, I had to make some sacrifices on the looks. Mainly on the Lateral incisors (small teeth beside the two large front teeth). I had to angle them downward because of the teeth in the other arch hitting them. |
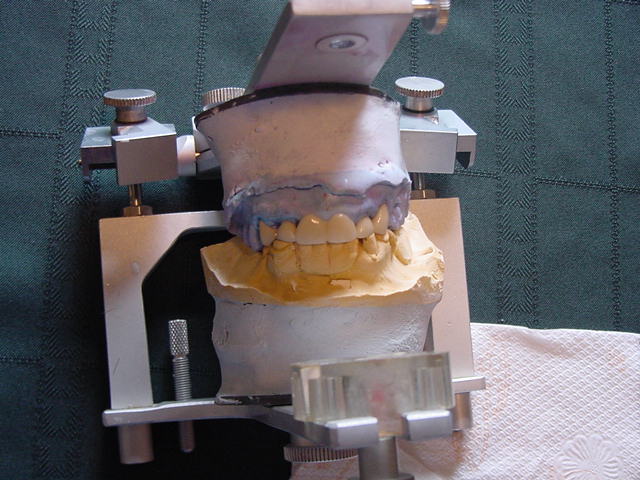 |
|
Back of bridge This is what you would see if you opened you mouth REAL WIDE and tilted your head back, it is a gold substructure that gives the bridge the strength it needs to hold the porcelain. Being that porcelain is just glass you can see where it needs something else to be strong. |
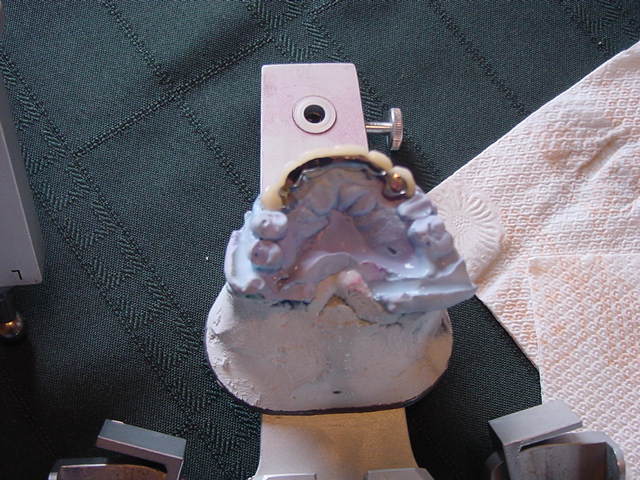 |
|
Last picture of bridge You guys will have to take a picture of this when it's actually put in. It will look alot diffent with pink gum tissue between the "holes between the teeth". I hope it looks good, it's a beautiful shade. Love you guys. Greg |
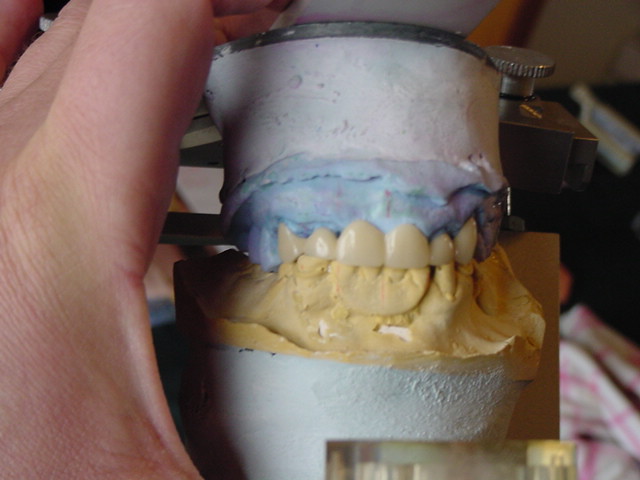 |